7 Easy Steps To Constructing A Charcuterie Board

7 Easy Steps
To Constructing A Charcuterie Board That’s Sure To Be A Crowd Pleaser
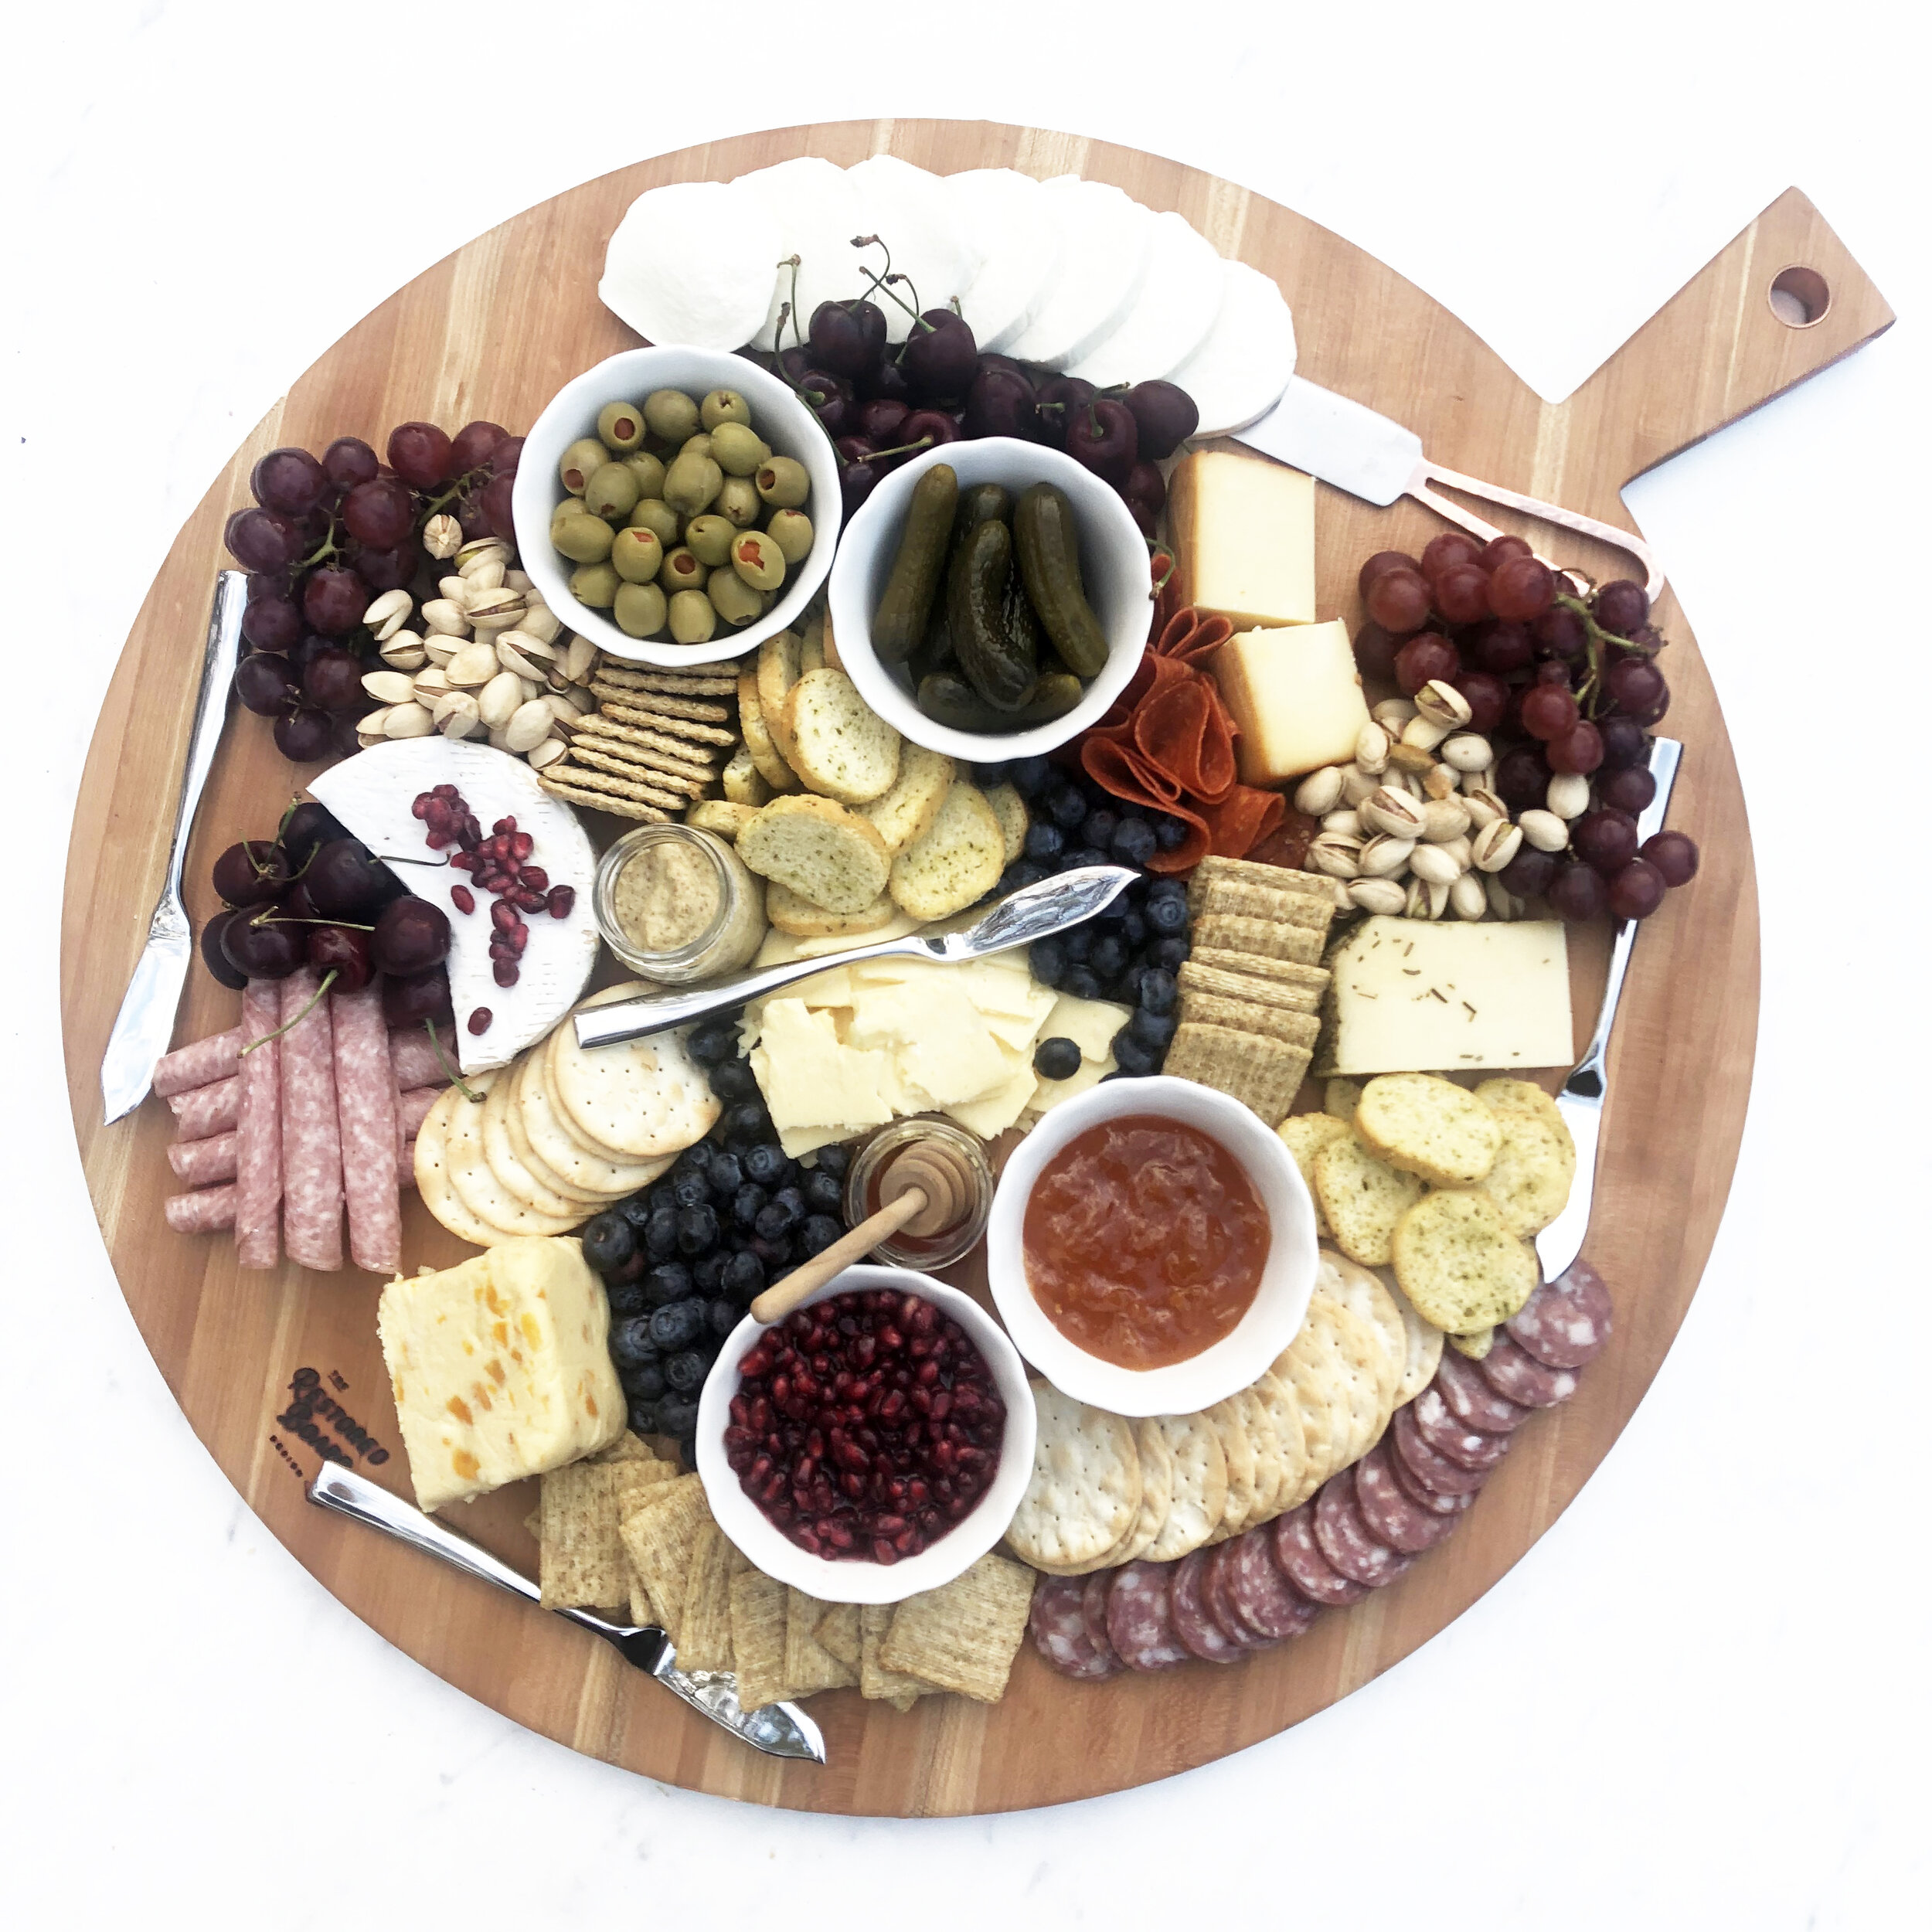
Sure, charcuterie boards can look a little intimidating but when you break it down to the basics, it’s really not that bad. We put together this super simple charcuterie board last weekend for a friends party, all kid and adult friendly options and nothing intimidating. This is the way we like to go for larger crowds, especially when you don’t know their specific preferences. And what’s better for large crowds than a large serving board? This post features our 22” round cherry board which will serve 12 - 15 people when completely full.
Follow along below with the seven easy steps to constructing these. We probably break all kinds of rules, if there are rules to this…but it’s all about what you like. Switch out the ingredients for what you like and enjoy!
Prep Work - Gather all your ingredients. In this case, we used the following items all purchased from our local grocery store and Costco.
Cheeses
Brie
Coastal Cheddar
Apricot Wenslydale
Rosemary Parmesan
Fresh Mozzarella
Goat Cheese (not pictured, but always a favorite)
Meats
Summer Sausage
Salami
Pepperoni (we generally use prosciutto, but our store was out)
Cracker Varieties
Triscuits
Crostini
Carr Crackers
Fruits
Blueberries
Cherries
Grapes
The Extras
Pomegranate Seeds
Apricot Preserves
Pickles
Olives
Honey
Deli Mustard
Pistachios
Constructing Your Board
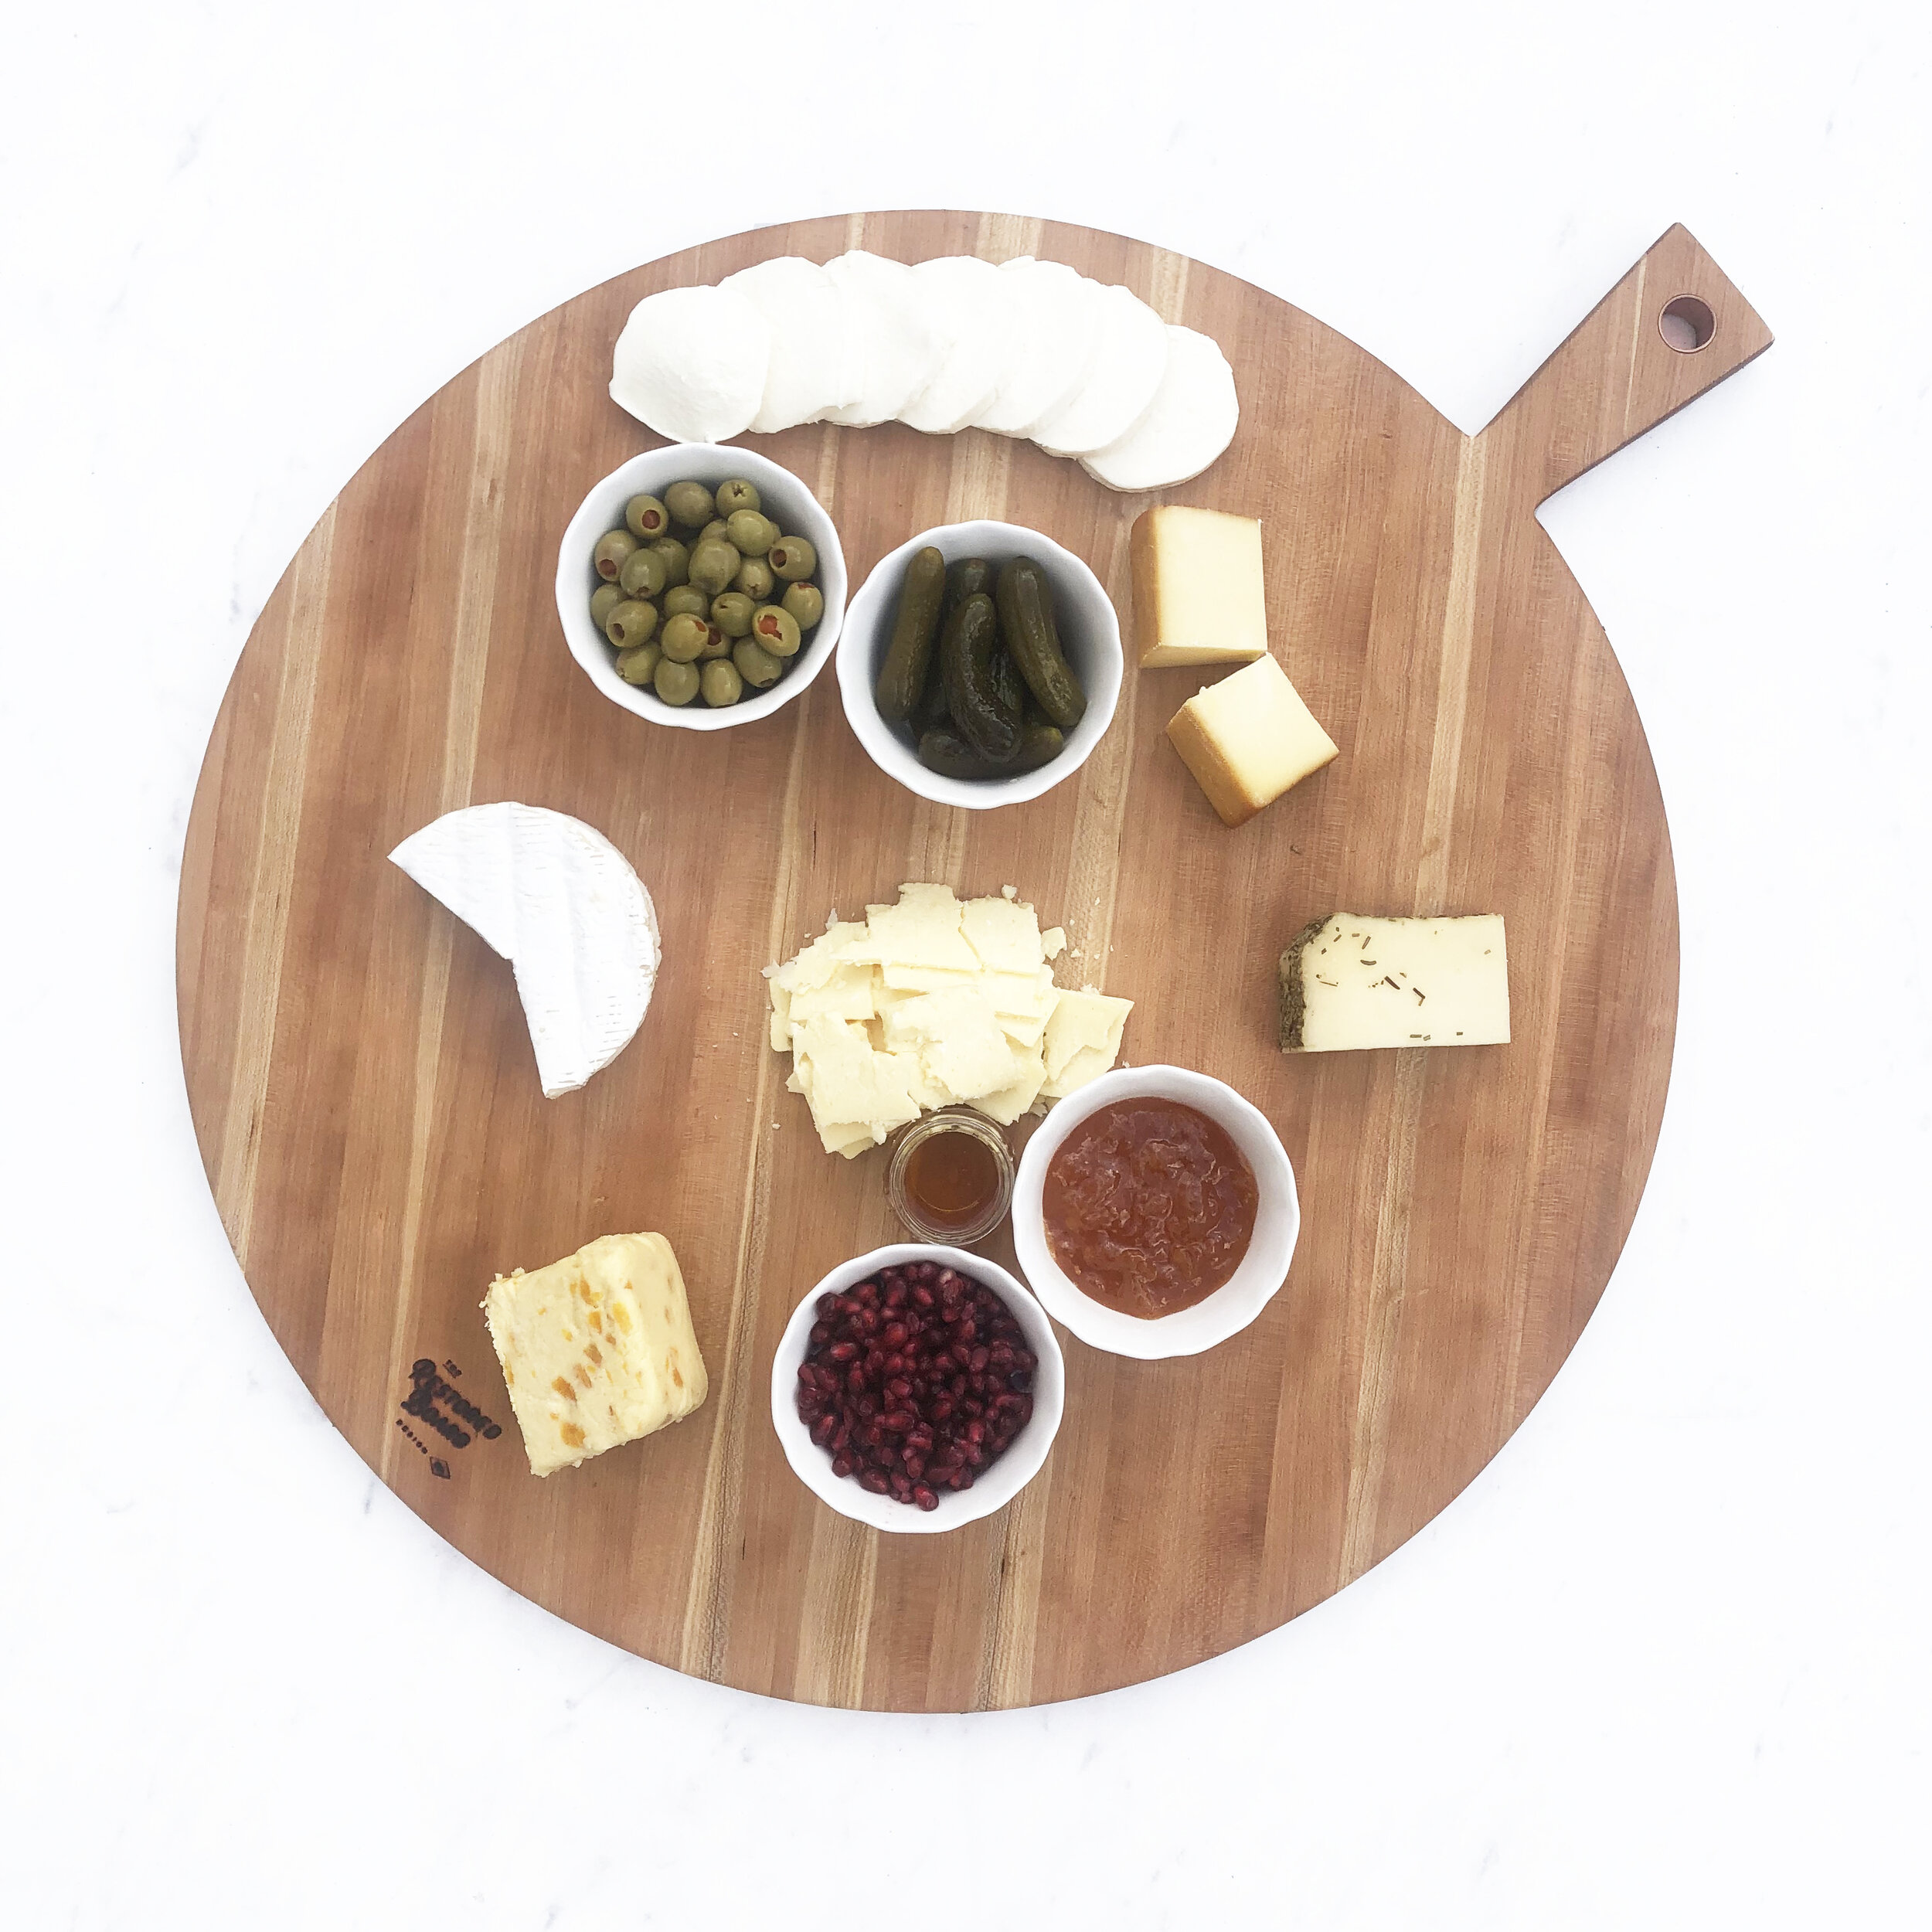
Step 1 - Use small containers or ramekins to anchor your board and fill them with loose items, condiments and items that may cause any sogginess (such as mustard, honey, pickles, olives and preserves. These will help to build your board and support other food items so best to start here.
Step 2 - Add your cheeses. Spread them out around the board so they’re easily accessible. Feel free to get creative with your placement and arrangements.
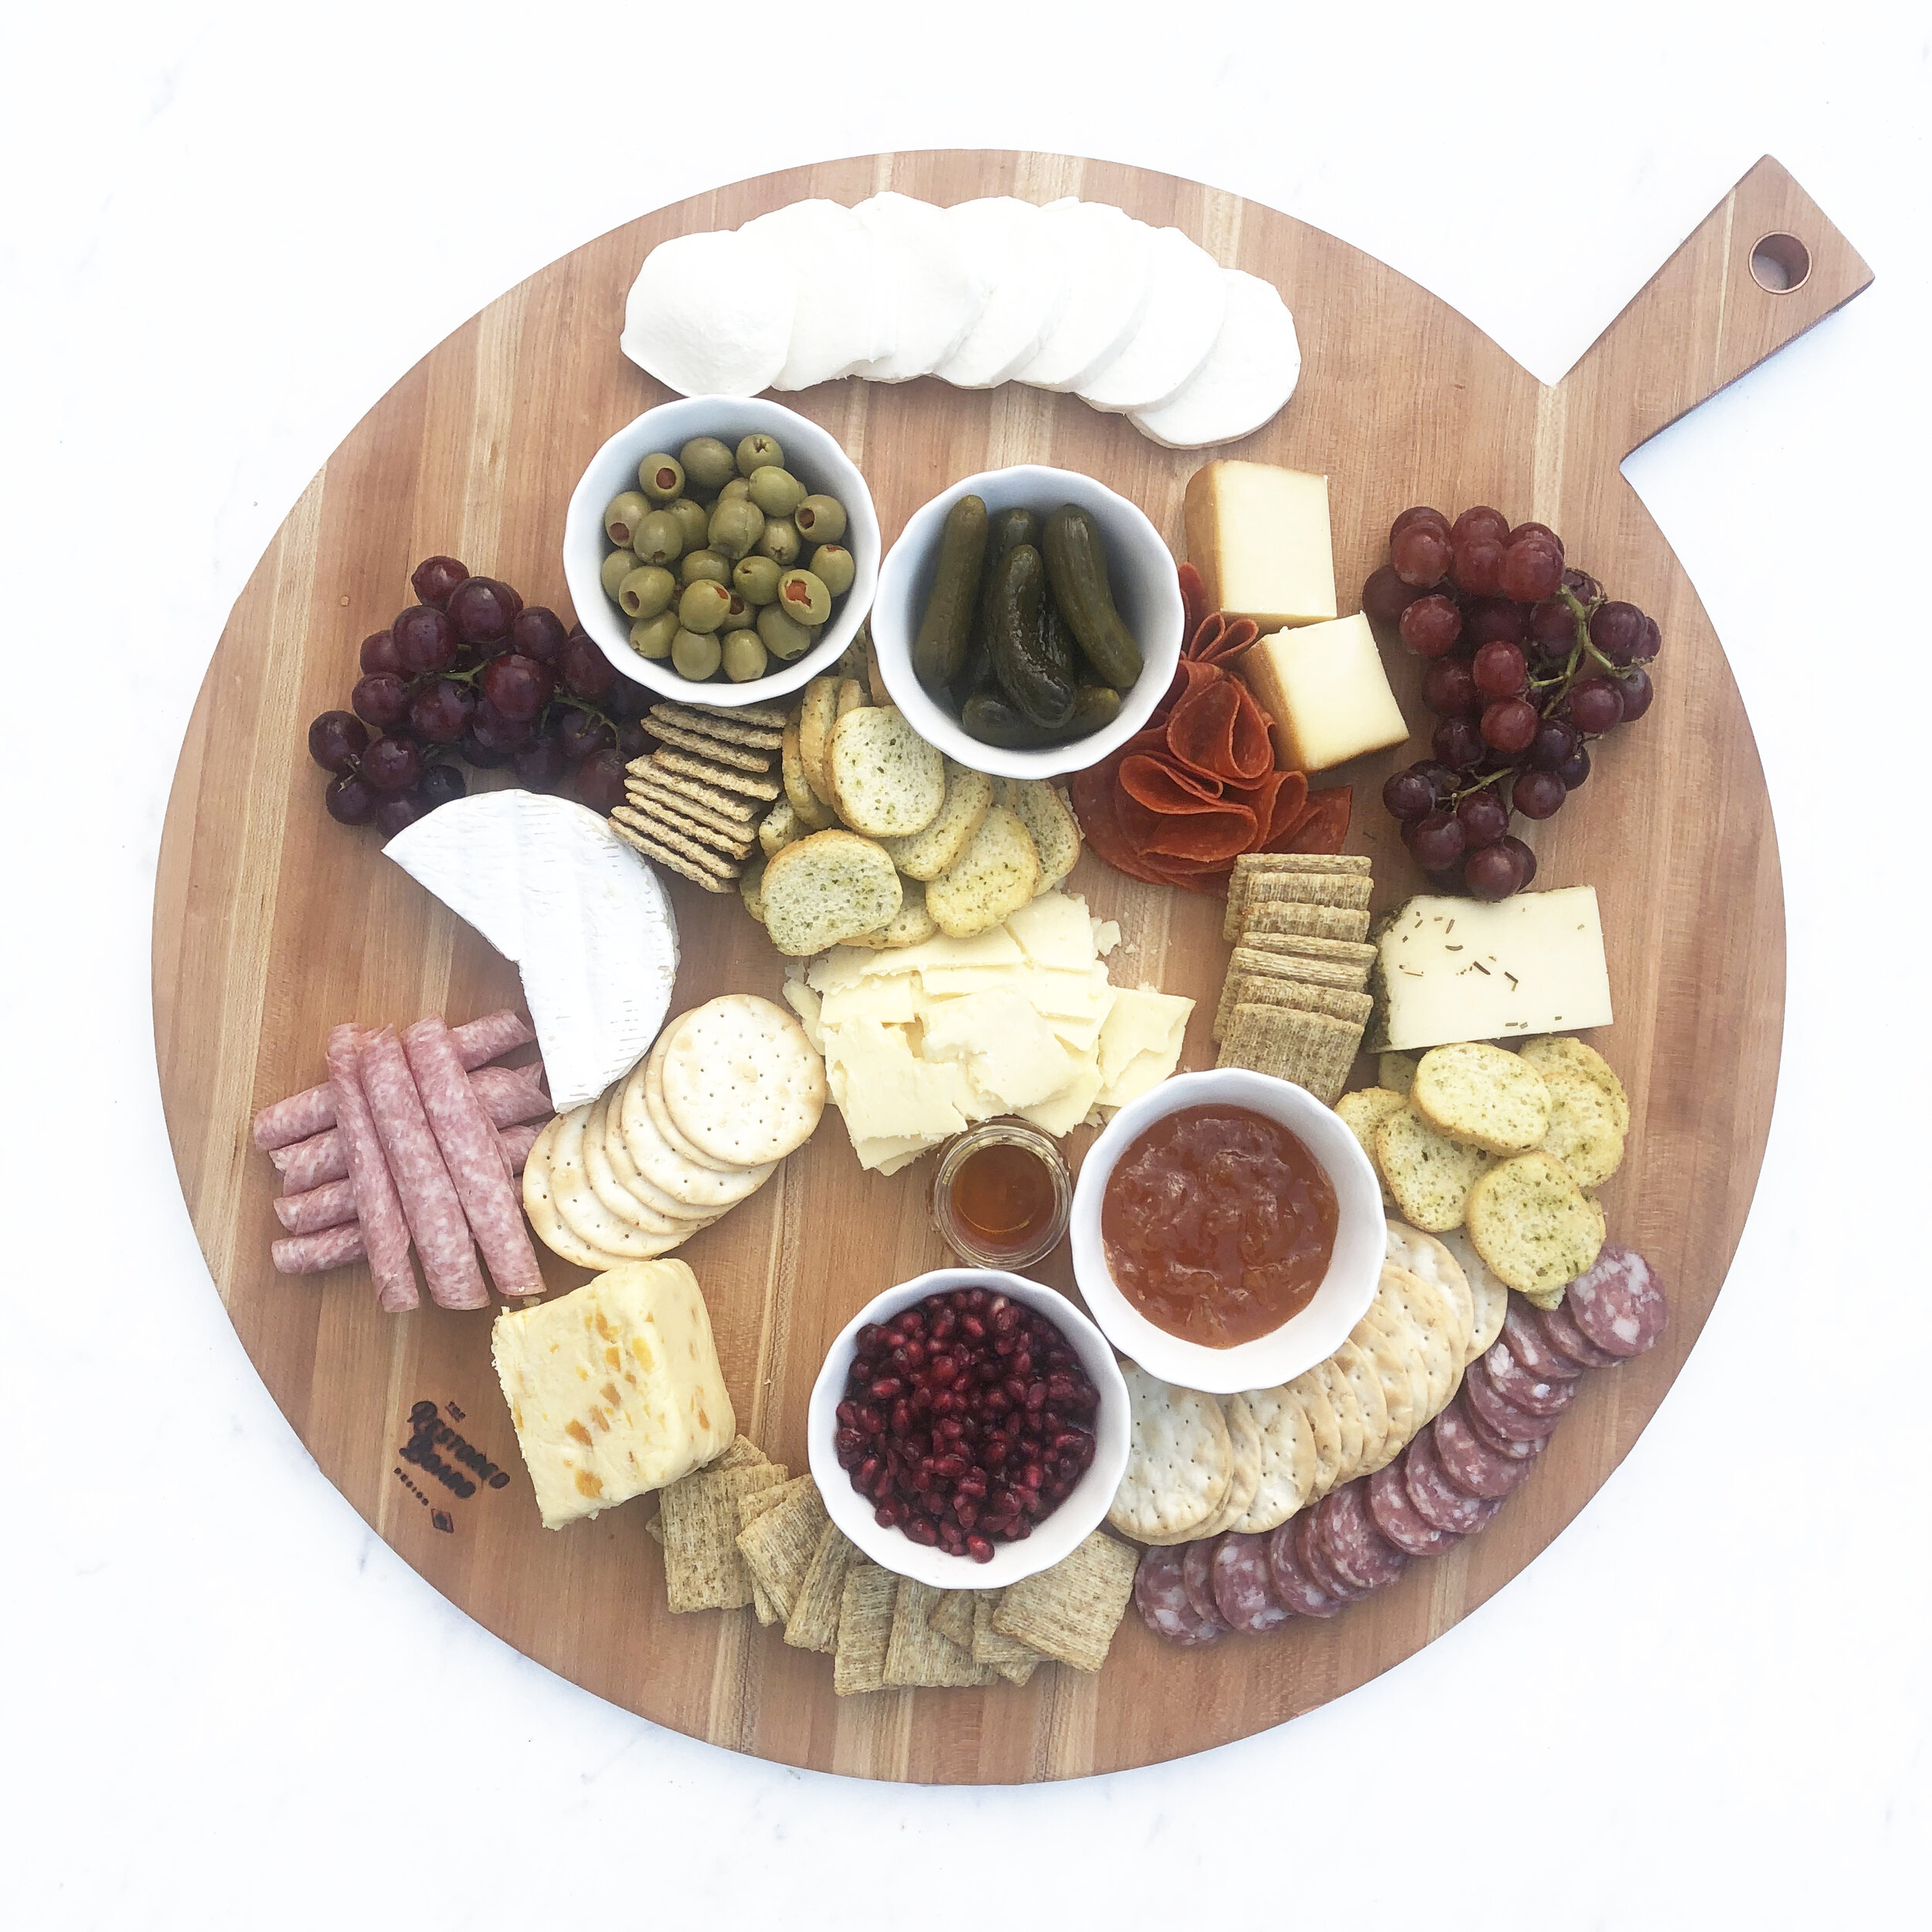
Step 3 - Add meats. Same thing, you’ll want to spread them out across the board. This will also encourage different snacking combinations.
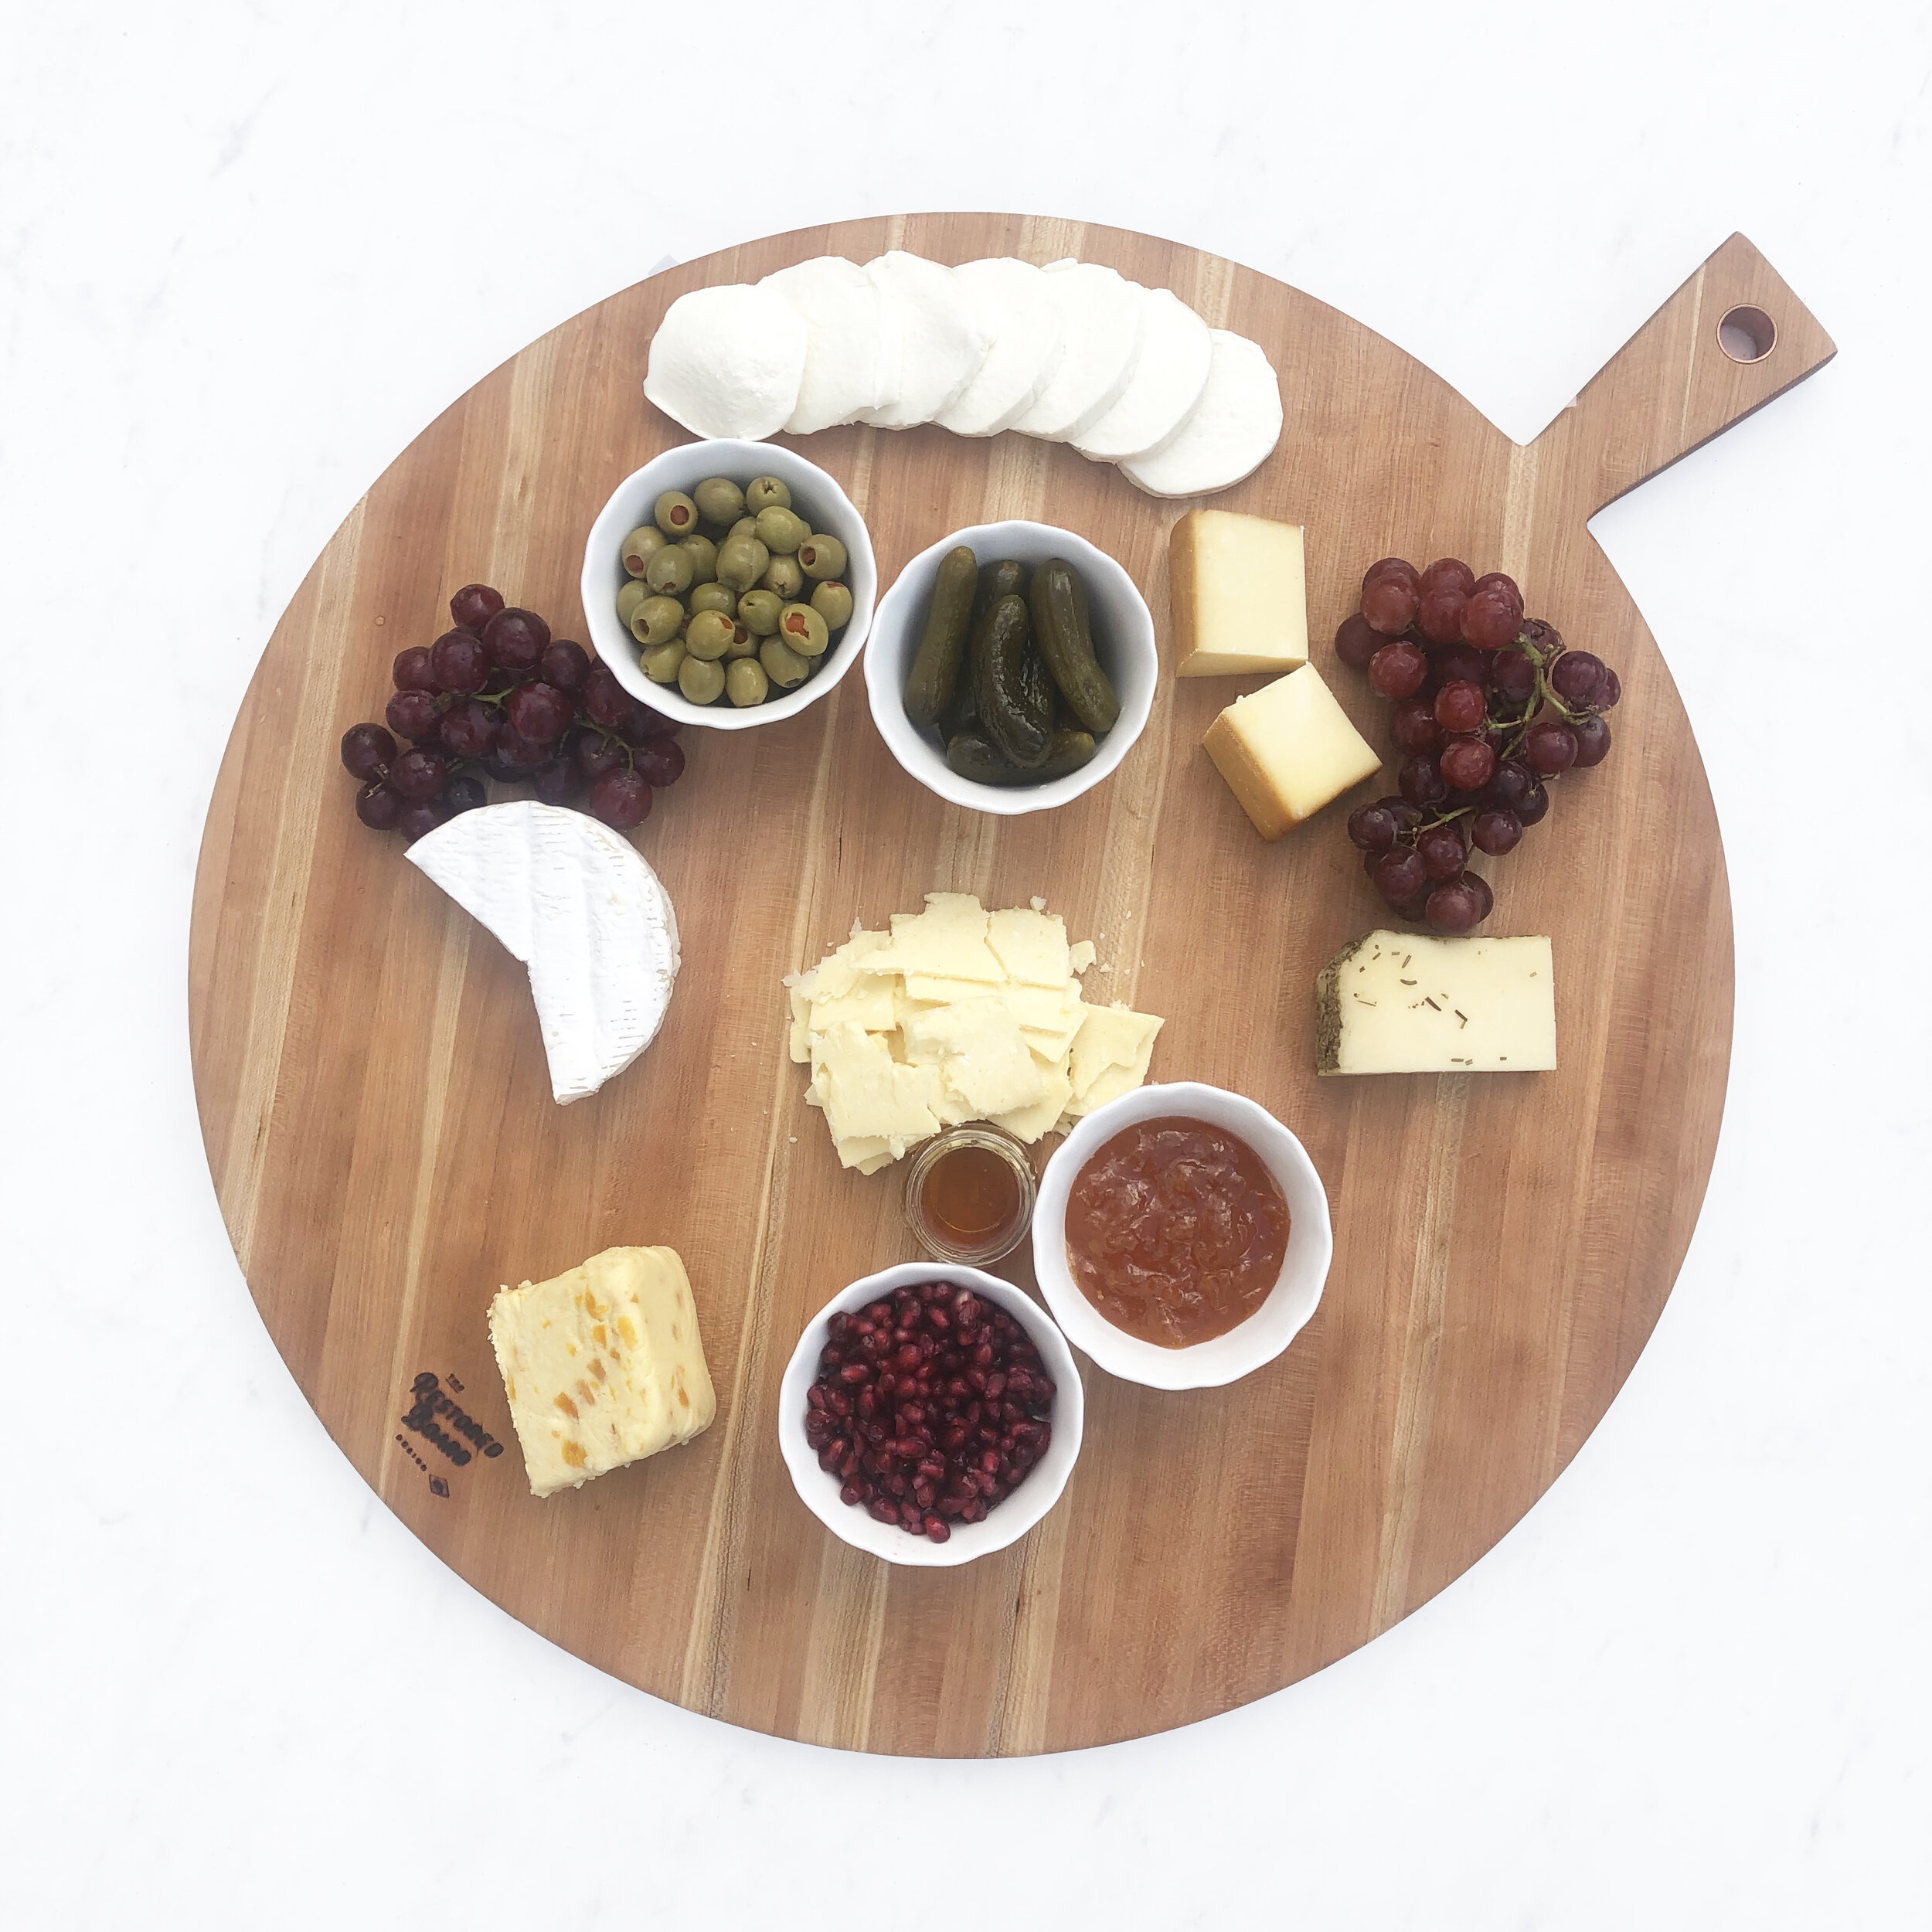
Step 4 - Place large fruits such as grape bunches.
Step 5 - Add crackers in rows, semi-circles around the ramekins or use more organic-shaped crackers to fill in empty spaces.
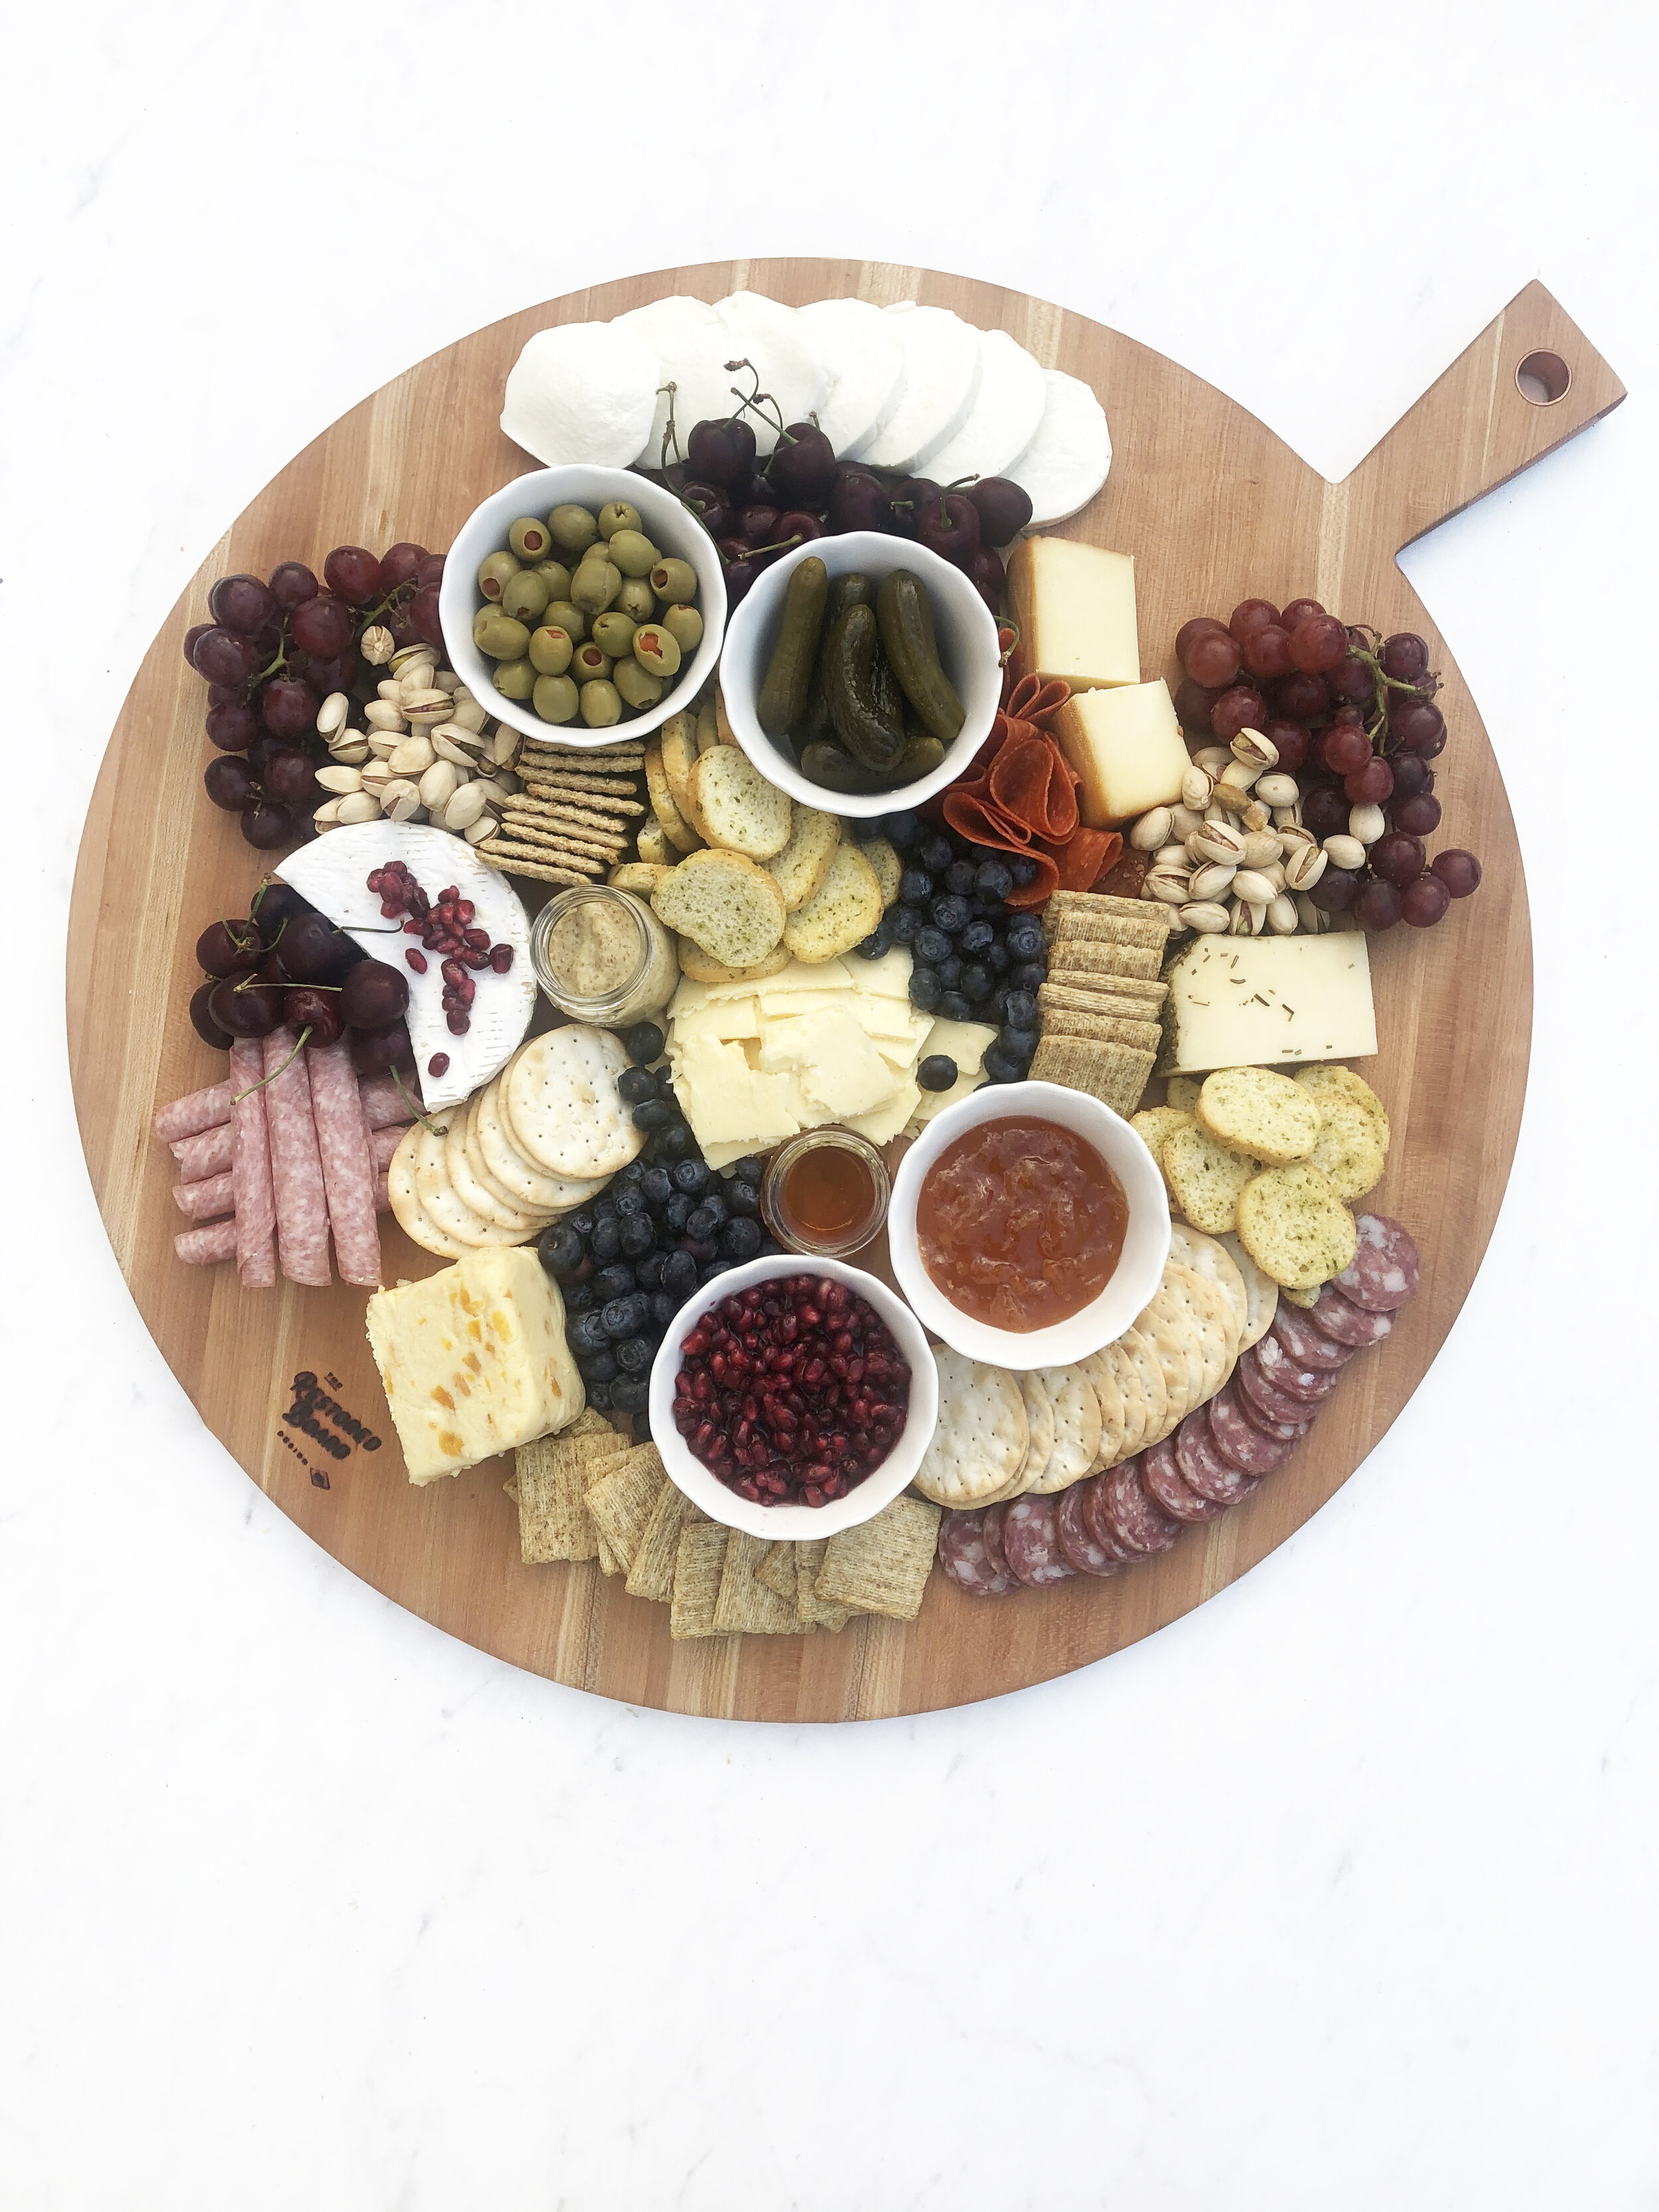
Step 6 - Add fillers. This is where I add blueberries, cherries and pistachios to fill in any empty spaces, still placing them around the board in multiple spots.
Step 7 - Add your finishing touches. Garnishes (fresh rosemary, thyme & basil are good ones, but we were out) and serving pieces will round out your board and give it a finished look.